QUICK TEXTA BACKGROUND CARDS

This is a quick idea for creating a card (thank you Naomi for sharing) using a texta background, just make sure you include a colour from your base card.  They look great when using a bold stamped image.
 By Marg
By Naomi

Early Birthday Celebrations 2014 by Marg

With no real idea as to what I was going to create I've got to admit that I really enjoyed sitting down to do some craft and used OFFCUTS to make these cards.
The first of many I hope for 2014.  
Here you will see that I made an insert for a frame to MATCH 
my card for my Sister-in-law.
 HAPPY BIRTHDAY NARELLE!

 HAPPY BIRTHDAY ANNE!

 HAPPY BIRTHDAY GINA!

Doing a recent clean up at home I came across an old display folder I used to display when doing my craft demonstrations and workshops.  Below are several card ideas I thought you might enjoy using a range of different products such Perfect Pearls, Chalks, Eyelets, Die cuts, Embossing, Wire and Vellum.

USING WIRE CARD IDEAS by Marg

These cards have been given a 3D element by using craft wire, lifting some of the images with doubled sided foam tape and/or adding objects like shells and ripped cork sheets.  Colour has been added using Perfect Medium, chalks, cotton buds and balls.


PERFECT PEARLS CARD IDEAS by Marg

The below cards have been created using a Perfect Medium stamp pad and either dusted, painted or embossed with Perfect Pearls.  I love the effect of the Perfect Pearls but unfortunately these scanned images don't do them justice.


WEDDING INVITE & PLACE CARD IDEA by Marg

Using one stamp simple wedding stationery can be achieved.
 WEDDING PLACE CARD: Stamp image to the left of your card and then score just short of half way across the card but not through your stamped image.  Using a craft knife cut around the top section of your stamped image down to the scored mark.  Fold card over at the scored mark for it to then stand.  Print guest names onto matching paper/card then frame and mount onto the place card.
 WEDDING INVITATION: It's hard to see from this scanned image but the card above is folded 3 ways.  The first 2 folds are the same size which is just short of the envelope width and height, the 3rd fold is the size of half of one fold, so when it is folded over on top of the 1st fold it tucks into the stamped image which has been cut with a blade around the righthand side of the stamped image.  
 
The word OUR WEDDING is stamped across the 1st fold and using a stamp positioner and some masking paper (ie. post it note) the 3rd fold is also stamped with OUR WEDDING but only the second half of the stamp appears. This then matches up when the card is folded together. 
 
To finish off secure folded card onto a backing piece of strong card (ie.gold)
which will then frame and support the folded card.
 
ENVELOPE: Don't forget to finish it off by stamping a matching envelope.

VELLUM CARD IDEAS by Marg


EYELET CARDS by Marg


CHALKING IDEAS by Marg

Using a Perfect Medium and/or watermark ink pad I stamped randomly on some plain card, then with a cotton ball rubbed my coloured chalk over the stamped image - just add a little bit of Kindy Glitz or Glitter for that added bling!  Here are a couple book mark ideas.
 
These chalked cards are so quick and easy and great for both young & old to create.


Using my favourite cloud template,
I was able to create a soft cloud background on the following cards.


BABY CARDS by Marg

Using die cuts these quick baby cards were created


March 2013 Craft Ideas

CARD CREATED BY ROSA:
Butterflies become 3D with wings folded up in flight. 
Great little card using a scalloped top to create extra interest.
 CARD CREATED BY NAOMI:
Cute little card using panels and layering to frame the stamped images,
plus an added special decorative border.
 CARD IDEA FROM AUNTY LYNNE
Great little kids craft card idea using scraps and offcuts.

A CRAFTY XMAS 2012

MERRY CHRISTMAS ....

 
GREETING CARDS & MORE by Marg
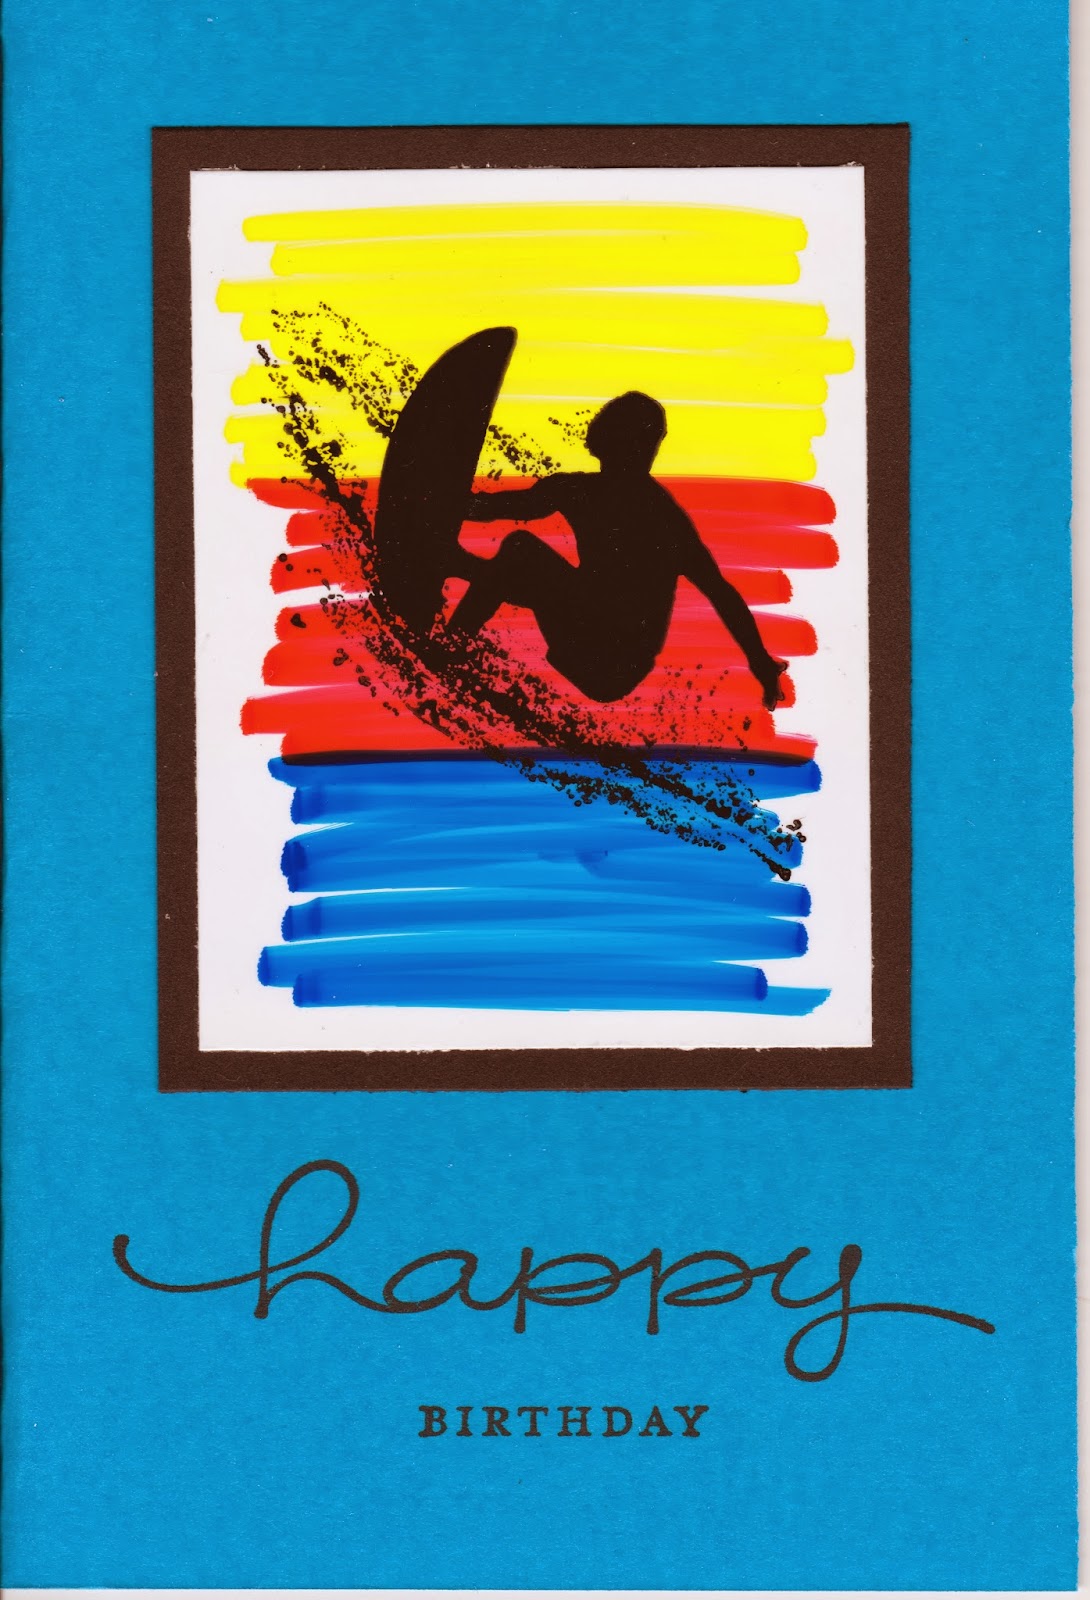
The above cards were made on the run as the silly season had well and truly arrived and a large batch of cards were required as Thank You/Xmas Cards for the Hospitality Staff at a local high school.  These cards were made using off cuts and the perfect stamp for a group of people who love to cook. I purchased 25 cards from Aldi for $1 which I then used to decorate to make them my own. It's a nice inexpensive way to make your xmas cards especially when they also come with an envelope.  The two cards below were also made using offcuts and a special xmas stamp I had used probably 10 years ago ... I thought enough time had past to use it again for my favourite friends and relatives.

This year I got motivated to make some special treats - here you will see below Mars Bar Crackling Xmas Puddings, Chocolate Dipped Cherries, Gingerbread House which I renamed the Mothership due to it's size and Funny Face Biscuits.  I also made a few mini gingerbread houses that I got my boys and husband to decorate - I gave the one I did to my Dad and wrapped up the one my husband decorated for his mum for Christmas.


I'm grateful that my gorgeous boys continued the tradition of their annual photo with Santa which they gave me for Christmas.  We have a photo for every year since they were born and it's a nice way to see how much they have grown.
 
This year we spent Christmas Day on Fraser Island - it was nice that Santa made an appearance.
 
LOVELY CARDS from MY CRAFTY FRIENDS:
 
By Marcia
 By Gina
 
 By Anne
Each year Anne creates a clever card using a photo and a theme -
this year was about her wish for her children.  The insert explains it all below.

 
By Robyn
I believe Robyn keeps a santa hat in her hand bag whenever she goes away.  A preplanned photo for xmas will make your xmas card extra personal.

By Rosa
Rosa is so passionate about xmas I just had to include her home xmas display -
everything co-ordinated and beautiful.